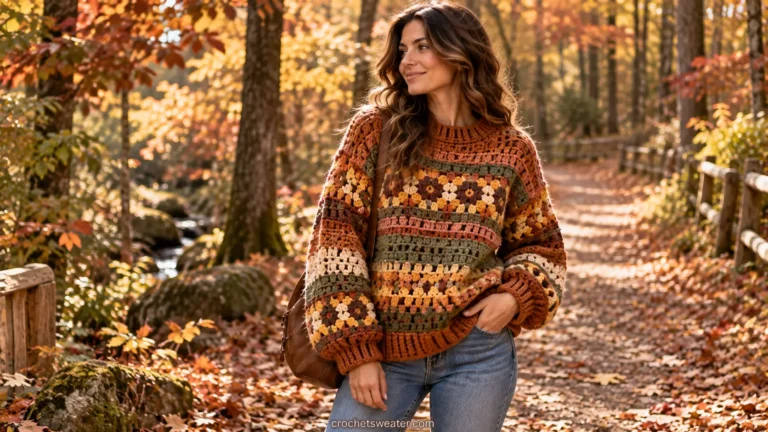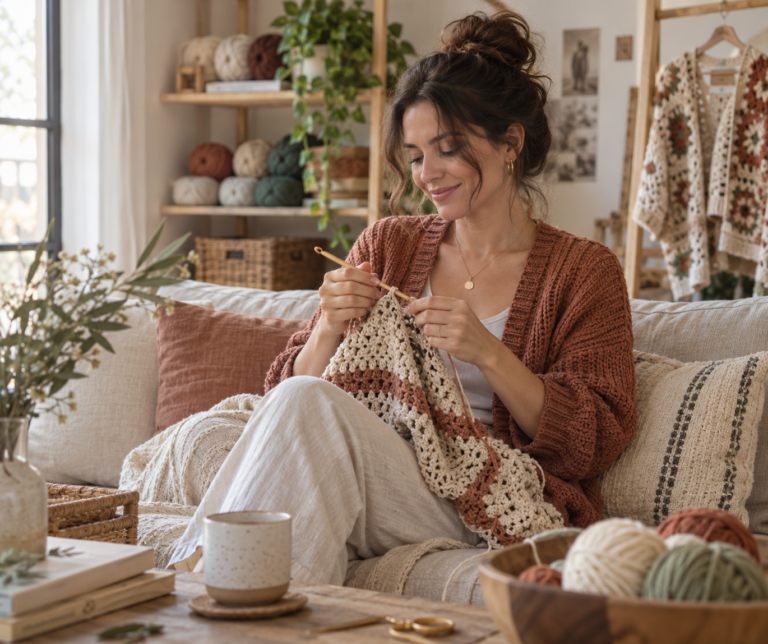
Figuring out how to crochet a pullover sweater usually starts with one overwhelming question: where do you even begin? Between choosing a construction method, picking yarn, and shaping a neckline that actually fits, a first garment project involves more decisions than a simple scarf or hat. This guide breaks the process down into clear, manageable steps so you can move from swatch to finished sweater with confidence.
Table of Contents
- Choosing a Construction Method
- Gathering Yarn and Tools
- Working a Gauge Swatch
- Shaping the Neckline and Shoulders
- Adding the Sleeves and Body
- Checking Fit as You Go
- Finishing the Sweater
- Helpful Resource
- Related Resources
- FAQ
Choosing a Construction Method
The first real decision in how to crochet a pullover sweater is picking a construction method, since it affects everything from fit to finishing time.
Top-down raglan starts at the neckline, increases outward for the shoulders, then splits into sleeves and body. This method lets you try the piece on repeatedly as it grows.
Bottom-up panels build the front, back, and sleeves separately before seaming them together, producing a more tailored shape but requiring more finishing skill.
| Method | Best For | Try-On Ability |
|---|---|---|
| Top-down raglan | Beginners, adjustable fit | Yes, throughout |
| Bottom-up panels | Tailored, structured shape | Only after seaming |
| In-the-round yoke | Smooth shoulder shaping | Partial |
Gathering Yarn and Tools
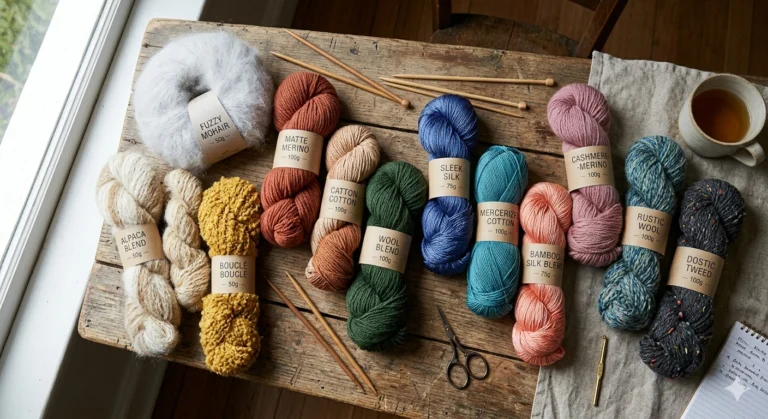
Before learning how to crochet a pullover sweater in practice, it helps to gather the right materials. A worsted or DK weight yarn with some drape like a cotton-acrylic or wool-alpaca blend works well for most first sweaters.
You’ll also need a hook sized to your yarn’s label recommendation, stitch markers for tracking increases, and a tape measure for checking progress against the pattern.
Tip: Buy one extra skein beyond what the pattern calls for. Running short mid project, especially in a dye lot that’s since sold out, is a common frustration.
Working a Gauge Swatch
This step gets skipped more than any other, yet it has the biggest impact on whether the finished sweater actually fits. Before starting the garment itself, crochet a swatch at least four inches square using your chosen stitch and yarn.
Measure the stitches and rows per inch, then compare that to the pattern’s stated gauge. If your swatch is too small, try a larger hook; if too large, size down.
Shaping the Neckline and Shoulders
For a top-down design, the neckline is where the project actually begins. Rounds increase steadily to shape the shoulders before the piece splits into separate sections for the sleeves and body.
- Measure head circumference loosely and compare it to the pattern’s neck opening.
- Count stitches carefully at each increase round to keep shaping even.
- Try the piece on around the shoulders once the yoke section is complete.
Adding the Sleeves and Body
Once the yoke is finished, the pattern typically separates into three sections: two sleeves and one body panel, each worked separately from that point on.
Sleeves are usually worked in the round, tapering toward the cuff, while the body continues straight down or gently tapers depending on the desired silhouette.
- Try the sweater on periodically as the body grows to check length.
- Measure sleeve length against your arm rather than relying solely on row counts.
- Adjust body length freely this is one of the easiest changes to make without affecting the rest of the fit.
Checking Fit as You Go
Learning how to crochet a pullover sweater successfully depends heavily on catching fit issues early rather than after the garment is finished.
- Compare your gauge swatch measurements against the pattern regularly, not just once at the start.
- Hold the piece up to your body periodically, even mid-round, to spot obvious sizing problems.
- Don’t be afraid to frog and redo a section if the fit looks noticeably off it’s far easier to fix early.
Finishing the Sweater
The final steps make a real difference in how polished the finished garment looks.
- Weave in all ends securely, especially around the underarms where seams meet.
- Block the sweater before wearing it, which helps even out stitches and improve drape.
- Add a simple ribbed or single crochet border at the cuffs and hem for a cleaner finish.
Helpful Resource Section
Before buying yarn to crochet a pullover sweater, the Yarn Weight Conversion Chart is a useful reference because it helps compare yarn categories and avoid sizing issues before starting a garment project.
Related CrochetSweater Resources
New garment makers may also enjoy our Easy Crochet Sweater Patterns for Beginners, which features approachable projects designed to build confidence.
For lightweight layering inspiration, see our Crochet Cardigan Pattern Ideas, where you’ll find wearable projects suitable for multiple seasons.
Frequently Asked Questions
Q: What’s the easiest way to learn how to crochet a pullover sweater?
A: Starting with a top down raglan pattern in one repeated stitch makes the process far more manageable for a first attempt.
Q: How long does it take to crochet a pullover sweater?
A: Most makers spend several weeks working part time, depending on yarn weight, stitch density, and body length.
Q: Do I need special tools to crochet a pullover sweater?
A: Just a hook matched to your yarn, stitch markers, and a tape measure no specialized equipment is required.
Conclusion
Learning how to crochet a pullover sweater comes down to breaking the process into manageable steps: choosing the right construction, working a gauge swatch, and checking fit along the way. Top-down raglan construction remains the most forgiving starting point for a first attempt. Save this guide so you can reference each step as you work through your own sweater.